Use the storage box as an external hard drive
In this explanation, we will explain how to use the storage box as a storage space and transfer your data to it or delete it on the Windows operating system
Introduction #
1- We log in through the client area through the following link

We enter our email and password
2- After logging in, we go to the services and click on them to show us the services that we have subscribed to
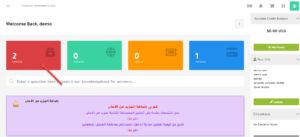
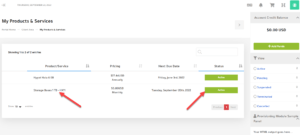
3- After our services appear, we click on Storage Boxes until we enter and control the service
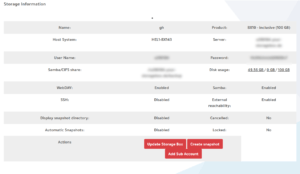
4- After entering the storage box service, the control panel will appear in the storage box, and this is what we will explain in the upcoming lessons.
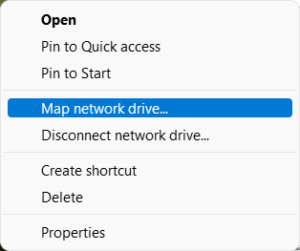
5- Now we go to the desktop of our operating system and we click on the Network icon, right-click and choose Map network drive

6- Another screen will appear
drive: We choose the name of the hard drive according to what is available to us, and we do not choose a character that is actually used by us
folder : We add our link from the information that appeared to us in step No. 4 as in the link below with changing the username with our username
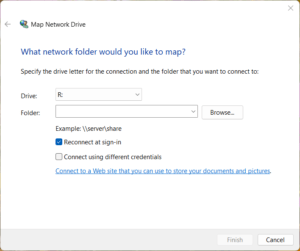
We choose reconnect at sign-in in case you want to create a connection automatically when the system starts
We also choose connect using different credentials and this is important
\\<username>.your-storagebox.de\backup
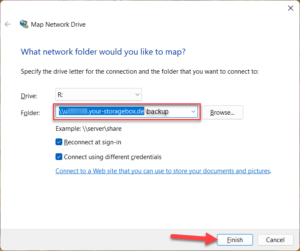
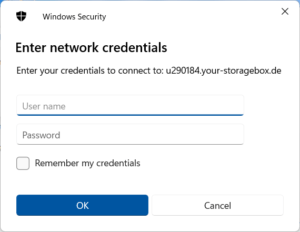
7- A box will appear for us to add our username and password that appeared in step 4
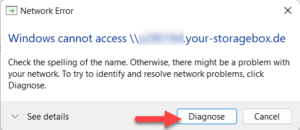
8- A box will appear to confirm the information again, we press on diagnose
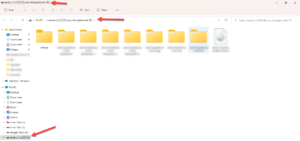
9- Now the storage box has been connected, you will find all your files that have been uploaded. You can use it to transfer files and download them now as a basic hard disk on your device
Note: The speed of file transfer and download depends on the speed of your internet line

Use the storage box as an external hard drive
Greetings from the Hyyat Host team #


